Surf photography equipment covers every piece between the camera and the water: cameras, housings, mounts, straps, filters and dry bags. This hub shows how the categories fit together so you can build one coherent kit instead of buying parts one at a time.
Quick answer: surf photography equipment is a system, not a single camera: a body, the right lens for where you stand, protection against salt and sand, a way to carry it, and spares. From the beach you mainly need a fast camera and a long lens; in the water you need a waterproof camera or a housed body; for both you need a care routine.
Surf camera gear on Amazon
Sponsored
As an Amazon Associate, SurferPix earns from qualifying purchases. See our affiliate disclosure.
A cross-category starter bundle concept pairing a basic camera, mount, and protective bag for someone building a first surf photography kit rather than buying pieces one at a time. Aimed at beginners who want a coherent starting point.
Reflects criteria around cross-category compatibility and materials rather than treating each accessory in isolation.
A shore-based setup pairing a camera body with a lightweight tripod for photographers shooting from the beach rather than the water. Better suited to longer sessions and zoom-lens use than water-based shooting.
Reflects criteria around tripod stability on sand and compatibility with common camera mounting plates.
A carry bag concept designed to move gear between board, water, and shore shooting setups within a single session. Useful for creators who switch between multiple mounts or camera bodies during a shoot day.
Reflects criteria around padded-compartment protection and quick-access layout for gear swaps between shooting positions.
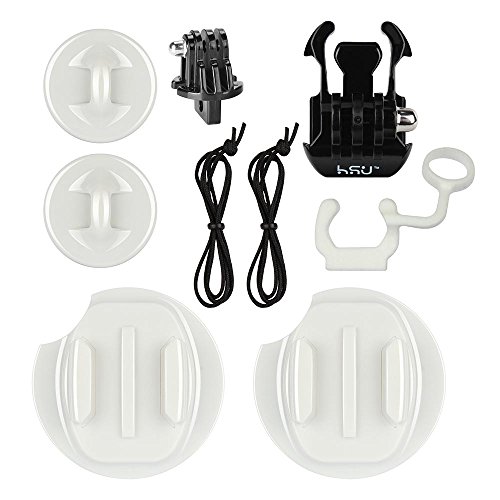
A grouped set of smaller accessories -- strap, filter, and cleaning supplies -- aimed at photographers who want baseline coverage across categories without researching each separately. A reasonable starting point before upgrading individual pieces.
Reflects criteria around material transparency and maintenance needs across the bundled accessory types.
Surf photography equipment covers every piece between the camera and the sea. Most beginners buy the camera first and discover the rest as problems arrive: a salt-covered lens, a flooded housing, a strap that cannot take the weight. It is easier to think in categories and fill them in order of risk.
Our guide to how surf photography gear categories connect shows how the pieces depend on each other. A longer lens changes which strap you need. A housing changes which mount you can use. A drone changes what you carry down the beach. Decide the shooting position first and the rest of the kit follows from it.
Work down the rows in the order that matches your shooting position. A shore shooter starts at the top and may never need the housing row; an in-water shooter needs almost every row.
Categories from the gear table above.
Shooting from the beach, pier or cliff
From land, your priorities are reach, autofocus speed and burst rate. That points to a fast mirrorless or DSLR body with a telephoto lens. Guides on surf lenses commonly point to long zooms in the 100-400mm region and beyond for shore work, with wider lenses for closer positions, but the right choice depends on how far you are from the break and how much weight you are willing to carry along sand.
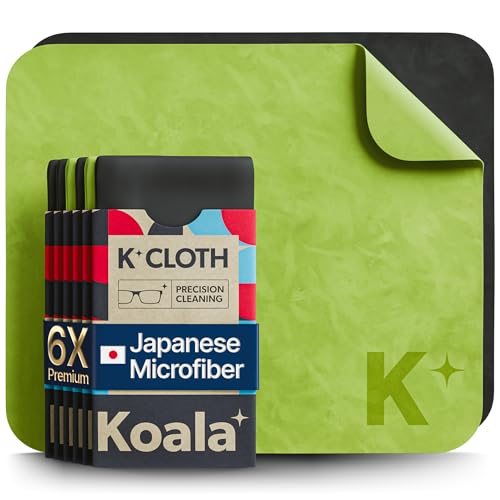
Things people forget on the beach: a lens hood to cut spray and glare, a rain cover or sleeve for salt mist, a sturdy strap that spreads weight, a monopod to rest a heavy lens, and a microfibre cloth for the front element. Salt air is slow but thorough; wipe the body and lens after each session and keep a sealed bag of silica gel in the case. The camera straps hub and the dry bags hub cover the carrying side.
Shooting from the water
In the water, you choose between two broad routes. A compact waterproof action camera is small, forgiving and fast to deploy, which is why it dominates for beginners. A larger camera in an underwater housing gives better image quality and lens choice, but it costs more, needs careful maintenance and can flood. Fisheye and wide-angle lenses are commonly used in housings because you work close to the subject; the DSLR underwater housings explained guide covers ports, domes and compatibility.
Either route needs a floating grip or tray, a wrist or leash tether and a routine for inspecting seals. Do not skip the pre-session dry test; it is the cheapest protection you have.
Where you stand decides the kit.
How to choose what to buy first
Pick the position. Shore, water, board or air. Do not buy for all four at once.
Pick the body. A body that fits the position and the budget you have, not the one with the longest spec sheet.
Pick the protection. Native waterproofing, a housing, or only a rain sleeve, depending on position.
Add retention. Strap, tether and float before any accessory that adds weight.
Add spares. A second battery and labelled cards.
Add the rest only when a problem asks for it. Filters, mounts, bags and lights come after you have noticed the gap.
Compatibility is the quiet trap. Housings, mounts, filters and straps are model-specific. Confirm every fit against the maker's current documentation before you order, because a generation change in a camera body routinely breaks older accessories.
Surf camera gear on Amazon
Sponsored
As an Amazon Associate, SurferPix earns from qualifying purchases. See our affiliate disclosure.
Prices and availability were accurate when retrieved from Amazon and may change. Retrieved Nov 17, 2026.
Carrying, protecting and travelling with the kit
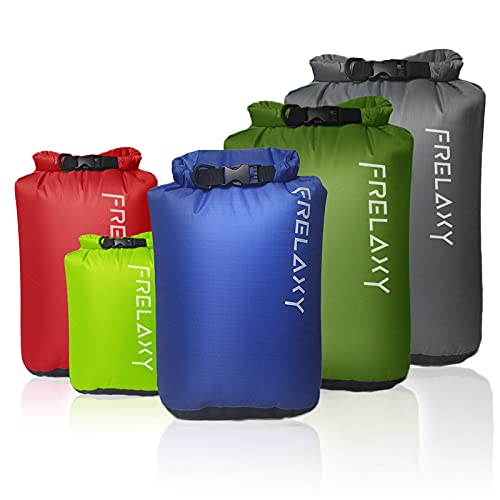
Surf locations are rarely convenient. You park, walk across sand or rocks, and set up in wind and spray, so how you carry the kit matters as much as what is in it. Use a bag that closes fully and keeps sand out of the zippers, and pack so that the item you need first is on top. A roll-top dry bag is useful for spares and for wet gear on the way home, and the guide on sizing a dry bag to your kit helps you avoid buying one that is too small.
Protect the camera while it is out. A rain sleeve or lens hood cuts salt mist, a strap or harness spreads weight, and a wrist tether stops a drop on rock from becoming a loss. For long days on a headland, bring water, shade and a towel; they are part of the equipment because a tired photographer makes sloppy decisions with expensive gear. Pack a small repair kit as well: a spare lens cloth, a blower for sand, a few cable ties, tape, a spare battery and a dry pouch for cards. None of it is glamorous, and all of it has saved a session. Finally, plan how you will back up and label footage: format cards in the camera, not on a computer, copy files the same day, and keep one copy off the card.
Common mistakes
Buying for the most dramatic shot. Most people shoot from the beach far more than they expect.
Underestimating weight. A long lens on sand is tiring. A heavy housing in a swell is more so.
Treating a rating as permanent. Seals wear. Re-grease, inspect and replace on the maker's schedule.
Ignoring the lens. Salt on glass ruins more frames than a mediocre sensor does.
Not backing up. Copy footage the same day; sand and water are tough on cards.
Buying accessories before a workflow. Establish how you shoot, then fill gaps.
Care in salt water and sand
Salt, sand and sun are the three enemies of surf gear. A good routine is short and boring, which is why it works.
Before the session: clean seals, check batteries, label cards, fit lens cover or hood.
During the session: keep the camera shaded and covered between sets, and keep open doors away from wind and spray.
After the session: rinse sealed gear in fresh water, dry it fully, and let anything with a door air out open in the shade.
Keep a simple maintenance log so you know when seals were last changed. A written schedule beats memory every time, and our re-greasing intervals guide shows what to track.
A simple maintenance calendar
Put dates on the boring jobs. After every session, rinse and dry sealed gear. Weekly, check straps, buckles and screws for loosening or corrosion. Monthly, clean lens glass properly and inspect bag zippers. Each season, review seals, batteries and cards, and replace anything near the end of its life.
Where to go next
If you are still choosing a camera, start with the surf cameras hub and the waterproof action cameras hub. If you already own a camera and are choosing protection, go to housings. If you are building a creator workflow, the coastal content-creation equipment hub covers audio, storage and editing kit. The gear strips below open Amazon category searches so you can compare current listings.
Frequently asked questions
What cameras do surf photographers use?
From the beach, photographers commonly use fast mirrorless or DSLR bodies with continuous autofocus and long telephoto lenses. In the water, they use waterproof action cameras or a larger camera in an underwater housing. The right choice depends on where you stand.
What lens is best for surf photography?
From the shore, long telephoto zooms (guides often point to the 100-400mm range and beyond) bring the break closer. In the water, wide-angle and fisheye lenses are common because you work close to the subject. Pick by distance, not by brand.
Is f/2.8 or f/4 better for surf photography?
Neither is universally better. A wider f/2.8 aperture lets in more light for faster shutter speeds in dim conditions, while f/4 lenses are usually lighter and cheaper to carry along a beach. In bright surf light, weight and reach often matter more than the extra stop.