Underwater photography accessories are the small parts that make a camera or housing work better in water: colour-correcting filters, trays and handles, anti-fog inserts, spare O-rings, grease and cleaning tools. This hub explains what each does, how to check fit, and how to care for them in salt water.
Quick answer: the accessories that matter most are the ones that protect the seal and keep the lens clear: spare O-rings, the right grease, anti-fog inserts and a lint-free cloth. Add a tray or handle for a steadier hold and a colour filter only once you know the depth and water you shoot in. Confirm every accessory fits your exact camera or housing.
Surf camera gear on Amazon
Sponsored
As an Amazon Associate, SurferPix earns from qualifying purchases. See our affiliate disclosure.
Small silica-style inserts placed inside a sealed housing before closing, aimed at reducing condensation caused by trapped humidity and a temperature difference against the water. Reduces but doesn't eliminate fogging risk.
Reflects criteria around documented insert lifespan and housing-size-appropriate quantity rather than a guarantee against fog.
A maintenance kit pairing manufacturer-specified O-ring grease with a soft-tipped pick for seal removal and inspection, aimed at anyone who owns a sealed camera housing. Using the wrong grease type is a common cause of seal damage.
Reflects criteria around grease compatibility with common O-ring materials and a soft, non-metal pick design to avoid seal scratches.
Reusable moisture-absorbing packs for storing camera gear and housings between sessions in humid coastal environments, aimed at preventing internal corrosion and lens fungus over time. A storage habit, not a repair for existing moisture damage.
Reflects criteria around reusability (rechargeable via drying) and appropriate pack size for a storage case or bag.
A set of soft brushes and inspection tools for checking seals, ports, and buttons for grit or sand before a session, aimed at anyone maintaining a housed camera setup regularly. Regular inspection is a core habit for avoiding a flooded housing.
Reflects criteria around soft, non-abrasive tool materials safe for seals and lens coatings.
Underwater accessories fall into a few groups according to the problem they solve. Seal care keeps water out: spare O-rings, grease, soft picks and lint-free cloths. Anti-fog tools keep the lens clear: inserts, desiccant packs and good packing habits. Handling accessories give you a better grip: trays, handles and floating arms. Image accessories change the picture: colour-correcting filters, wide-angle lenses or dome ports and lights. Retention accessories prevent loss: tethers and floats.
It is tempting to buy image accessories first, but the seal and fog accessories are the ones that save your camera. Start there. If you are choosing the housing itself, read the housings hub, and for the cameras that go inside, see the waterproof action cameras hub.
Fit to your housing and the depth range the maker states
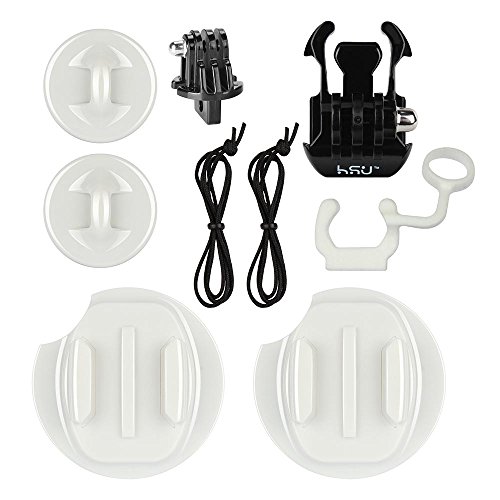
Tray, handle or grip
Steadier hold, mounting for lights
Thread or interface; weight and buoyancy
Float arm or buoyancy aid
Offsets the weight of a housed rig
Stated buoyancy against your rig's weight
Tether
Prevents loss
Rating, attachment point, snag risk
Use this as a purchase order: top of the table first, bottom of the table last.
Seal care accessories
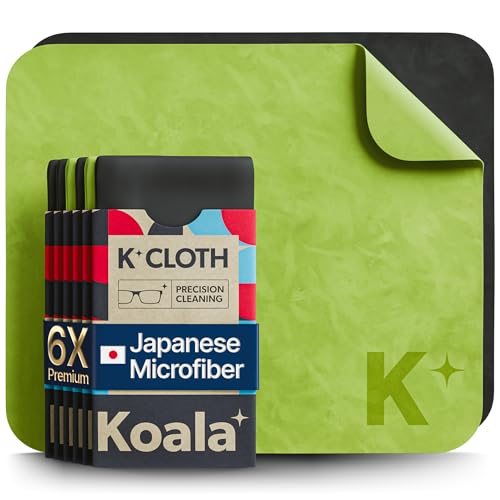
Spare O-rings and grease are the cheapest insurance in underwater photography. O-ring condition is the single biggest factor in whether a housing stays sealed. Inspect it for grit, hair, nicks or flattening before every session, and replace it on the maker's schedule. Use only the grease and quantity the maker recommends, because the wrong grease can swell or damage a seal and too much attracts grit.
Our guide to choosing the right O-ring grease explains why. Remove the seal with a soft tool rather than a knife or screwdriver, then wipe the ring and the groove with a lint-free cloth, check them under good light and refit carefully. A single human hair can cause a leak, so tie long hair back and work in a clean, still place. For a routine you can follow, see pre-session dry testing.
Seal care and fog control accessories at work.
Fog control
Fog forms when warm, humid air inside a housing meets a cold lens window. The usual causes are closing the housing in a warm, humid place, letting the sun heat it before entering cool water, and moisture trapped in the housing. To reduce it, close the housing in the shade or an air-conditioned space, use a fresh anti-fog insert, and make sure the interior is dry before you add the camera. Avoid breathing into the housing while you close it.
Keep the housing out of direct sun between sessions, and wet the outside with water before entering to equalise the temperature. Our how to prevent camera housing fogging guide gives a step-by-step routine. Fog is a nuisance rather than a leak, but it spoils footage and can hide a real leak, so check the inside regularly.
Colour filters and lights
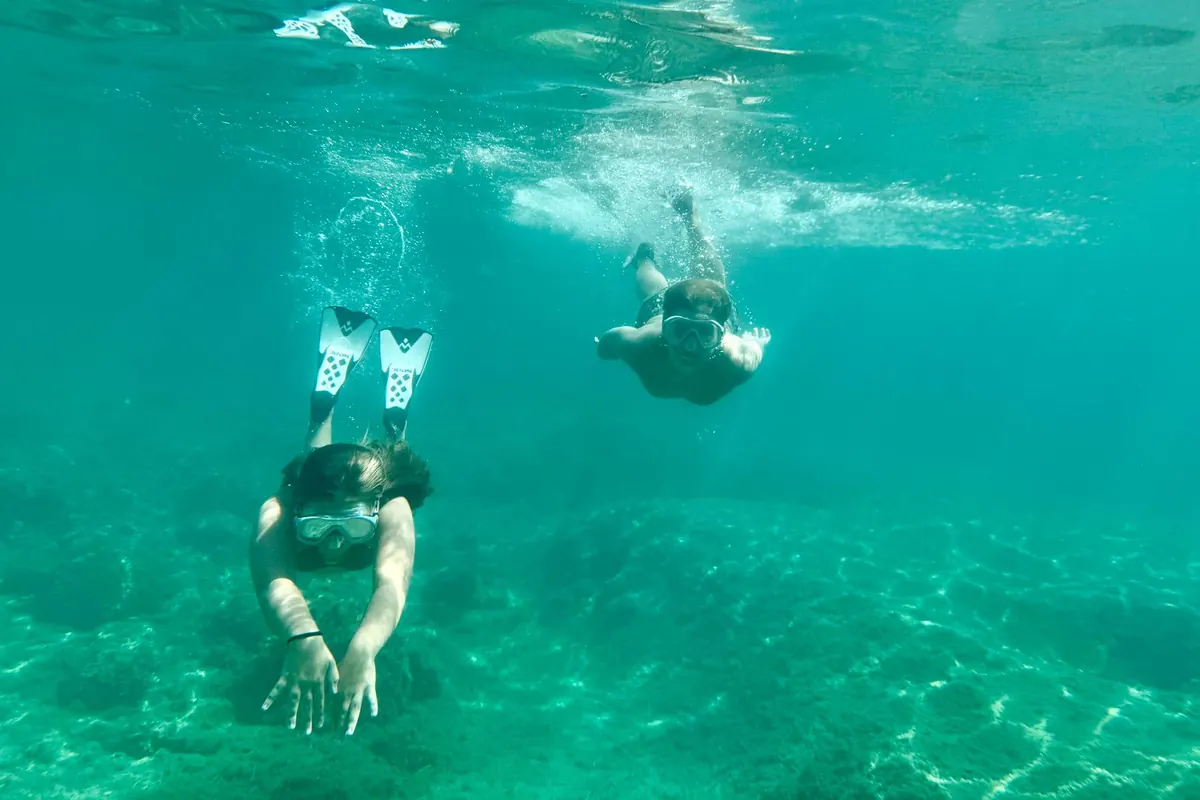
Water absorbs red light first, so footage shot at depth looks blue or green. Colour-correcting filters restore some of the lost warmth by adding a red or magenta tint. A third-party GoPro case we checked states its filter set is calibrated for 5 to 25 m, with different filters for blue and green water; that shows how narrowly these filters are tuned. In shallow surf water, filters often do little because there is not enough water to absorb the red, and the extra glass can reduce brightness.
Lights solve the same problem differently by putting colour back into the scene at close range. They add cost, weight and complexity, and they matter mainly for diving and close-up work. For surfing, start with a clean lens, good light and careful white balance, and add filters or lights only when you have a specific reason.
Surf camera gear on Amazon
Sponsored
As an Amazon Associate, SurferPix earns from qualifying purchases. See our affiliate disclosure.
Prices and availability were accurate when retrieved from Amazon and may change. Retrieved Nov 16, 2026.
How to choose accessories
Identify the problem. Leaks, fog, grip, colour or loss each have a different fix.
Confirm fit. The maker's page should name your camera or housing model.
Check material. Seals and grease must be compatible with each other.
Check weight and buoyancy. A heavier rig sinks faster and tires your hands.
Buy spares of consumables. O-rings and inserts wear out.
Prefer fewer, simpler parts. Each add-on adds drag and a possible failure.
Keep a maintenance log. Note seal changes and re-greasing.
Common mistakes
Buying filters before fixing leaks and fog. Image comes after reliability.
Using the wrong grease. Follow the maker's guidance.
Over-greasing a seal. It attracts grit.
Using sharp tools on O-rings. Nicks are leak paths.
Skipping the dry test. Test the empty housing first.
Adding accessories without checking weight. A float that was fine for a bare camera may fail with a heavy rig.
Mixing parts between housings. Seals and ports are model-specific.
Care in salt water
Rinse every accessory in fresh water after salt exposure. Soak trays, handles and thumbscrews for a few minutes and work moving parts. Dry them, then store them loosely, in the shade. Rinse filters gently and dry them with a lint-free cloth, since salt crystals scratch glass if rubbed. Keep spare O-rings in a clean, sealed bag, away from heat and sunlight, which age rubber.
Check for corrosion on metal parts and replace any piece with deep pitting or stress marks. Store grease tightly capped and keep it clean, because contaminated grease puts grit straight onto your seal. A written log of dates and replaced parts means you will know when something is due before it fails.
A worked example: a basic accessory kit for a housed action camera
A sensible starter kit for a housed action camera has five items. First, a spare O-ring of the exact size, in a clean sealed bag. Second, the maker-recommended grease in a small tube. Third, a soft pick and a lint-free cloth for seal care. Fourth, a pack of anti-fog inserts. Fifth, a tether and a float suited to the weight of the rig. Together these cost far less than the camera and prevent most failures.
The routine is as important as the kit. Before the session, wipe the seal, check it for hair and grit, and close the housing in a clean, shaded place with a fresh insert. Do a dry test with the empty housing if it has been a while. After the session, rinse the closed housing in fresh water, dry it, open it away from the water, and let the interior air out. Log the date of each seal change. Add a filter or a light only after this routine feels automatic, and only for the depth and water you actually shoot in.
A short pre-session checklist
Inspect the O-ring, wipe the groove, fit a fresh anti-fog insert, close the housing in the shade, check the tether and float, and confirm the camera is set up before you enter the water. Do this every time, in the same order, so that a missed step stands out.
Where to go next
Read the fogging guide if condensation is your main problem. For the housing itself, use the housings hub. For holding the camera, see the floating grips hub. The gear strips on this page open Amazon category searches.
Frequently asked questions
What is the best action camera for underwater use?
It depends on how deep you go. Makers publish depth ratings: for example GoPro states 33 ft for the HERO13 Black, Insta360 states 12 m for the Ace Pro 2 and DJI states 20 m for the Osmo Action 6, all without a case. For deeper dives, add a housing made for your exact camera.
How is underwater photography done?
You use a camera that is waterproof on its own or sealed in a housing, keep the lens clean and clear of fog, shoot close to the subject because water absorbs light and colour, and correct colour with filters, lights or editing. Seal checks before every dive prevent most failures.
What is the best phone housing for underwater photography?
There is no single best. Choose a housing made for your exact phone model with a stated depth rating that covers your use, check that you can reach the controls, and test the seal empty before every session. Fitted cases and universal pouches work differently, so match the type to the depth.